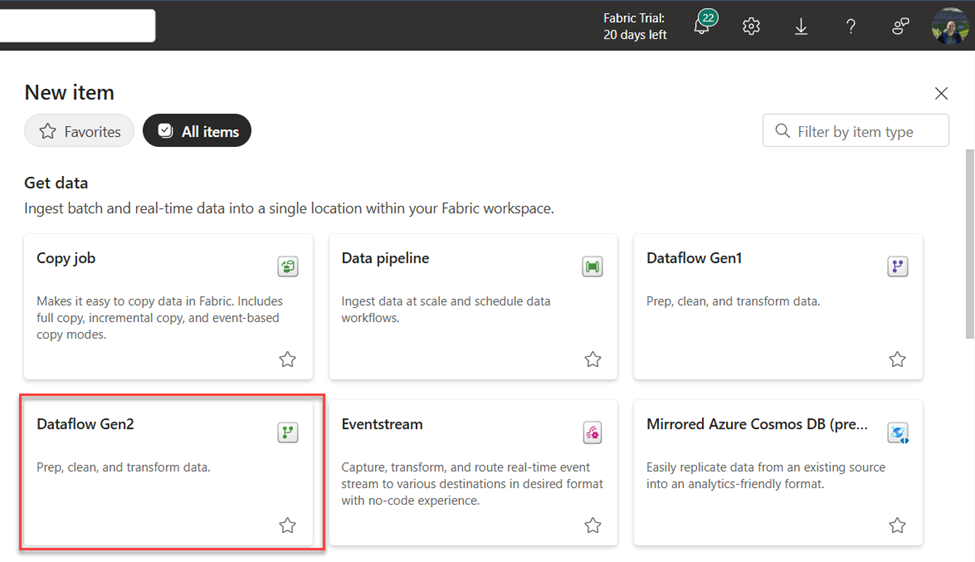
- In the top left corner of your Fabric Bootcamp workspace, select New item > Dataflow Gen2.
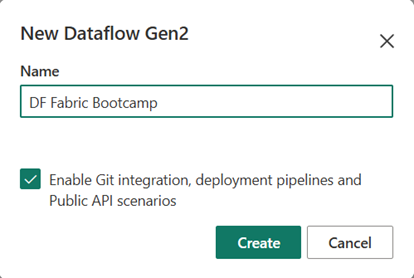
- In the dialog window, rename the dataflow to: DF Fabric Bootcamp, and check the option: Enable Git integration, deployment pipelines and Public API scenarios.
- After a few seconds, the Power Query editor for your new dataflow canvas opens.
- Select Import from a Text/CSV file, and create a new data source with the following settings:
- Link to file: Selected
- File path or URL: https://raw.githubusercontent.com/MicrosoftLearning/dp-data/main/orders.csv
- Connection: Create new connection
- data gateway: (none)
- Authentication kind: Anonymous
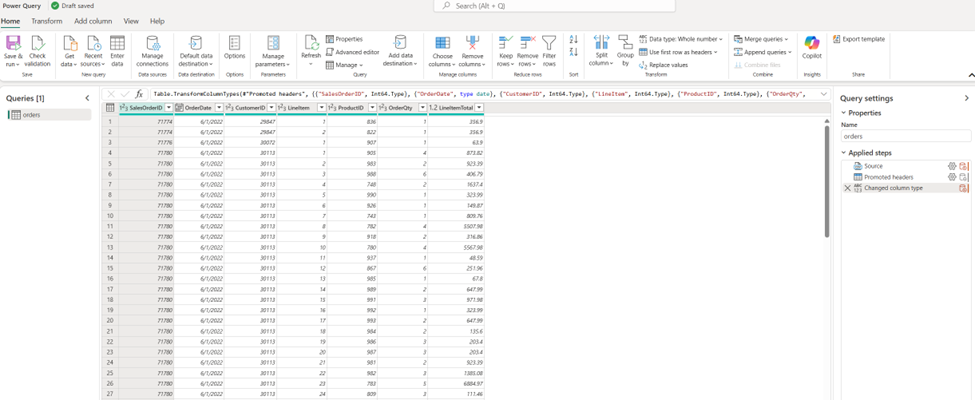
- Select Next to preview the file data, and then Create the data source. The Power Query editor shows the data source and an initial set of query steps to format the data, as shown here:
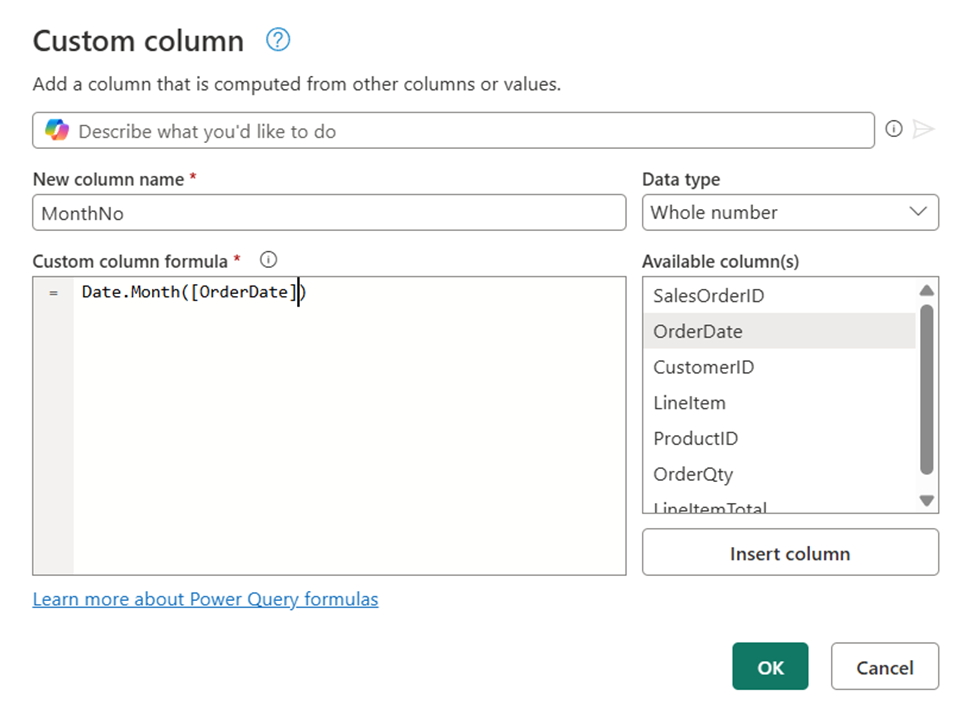
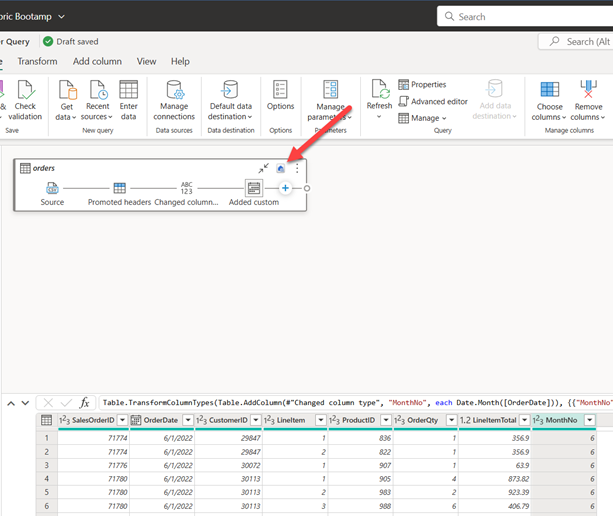
- On the toolbar ribbon, select the Add column tab. Then select Custom column and create a new column.
- Set the New column name to
MonthNo, set the Data type to Whole Number and then add the following formula:Date.Month([OrderDate])– as shown below:
- Select OK to create the column and notice how the step to add the custom column is added to the query. The resulting column is displayed in the data pane.
Tip: In the Query Settings pane on the right side, notice that the Applied Steps include each transformation step. At the bottom, you can also toggle the Diagram flow button to turn on the Visual Diagram of the steps. Steps can be moved up or down, edited by selecting the gear icon, and you can select each step to see the transformations apply in the preview pane.
- Check and confirm that the data type for the OrderDate column is set to Date and the data type for the newly created column MonthNo is set to Whole Number.
Add data destination for Dataflow
- On the toolbar ribbon, select the Home tab. Then in the Add data destination drop-down menu, select Lakehouse.
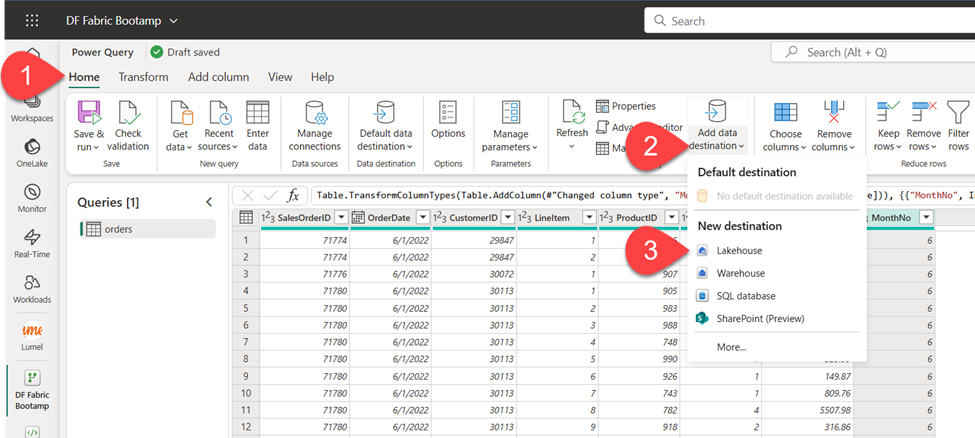
Note: If this option is grayed out, you may already have a data destination set. Check the data destination at the bottom of the Query settings pane on the right side of the Power Query editor. If a destination is already set, you can change it using the gear.
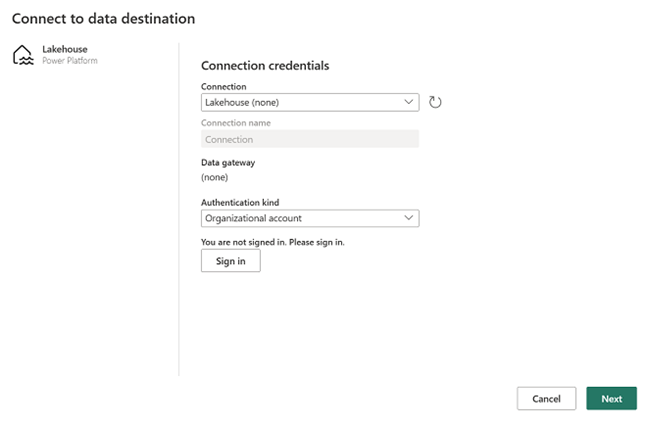
- In the Connect to data destination dialog box, edit the connection and sign in using your Power BI organizational account to set the identity that the dataflow uses to access the lakehouse.
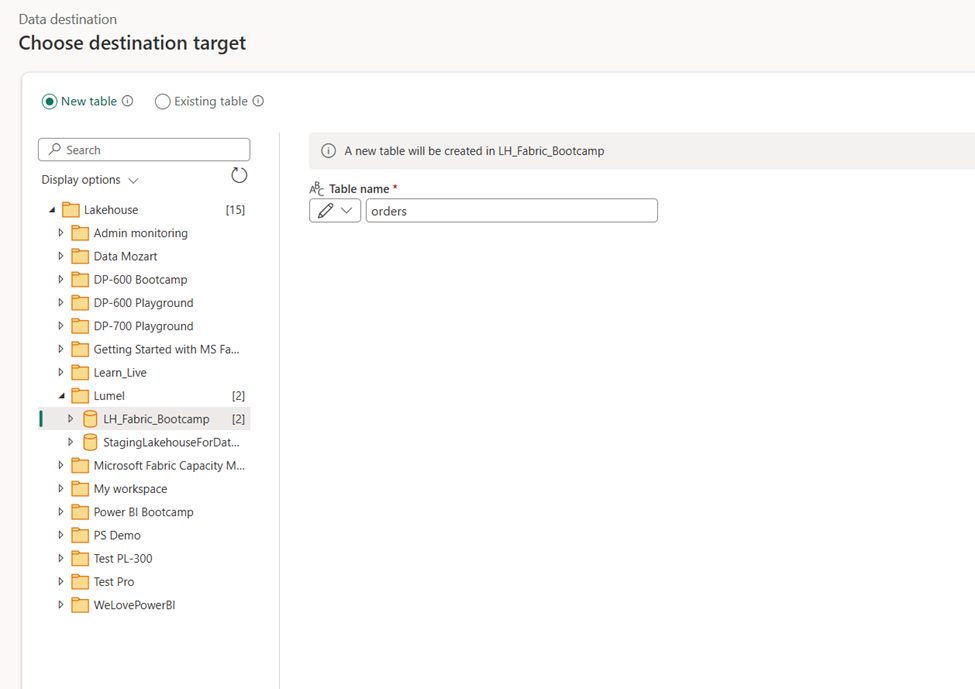
- Select Next and in the list of available workspaces, find your Fabric Bootcamp workspace and select the LH_Fabric_Bootcamp lakehouse. Then specify a new table named orders:
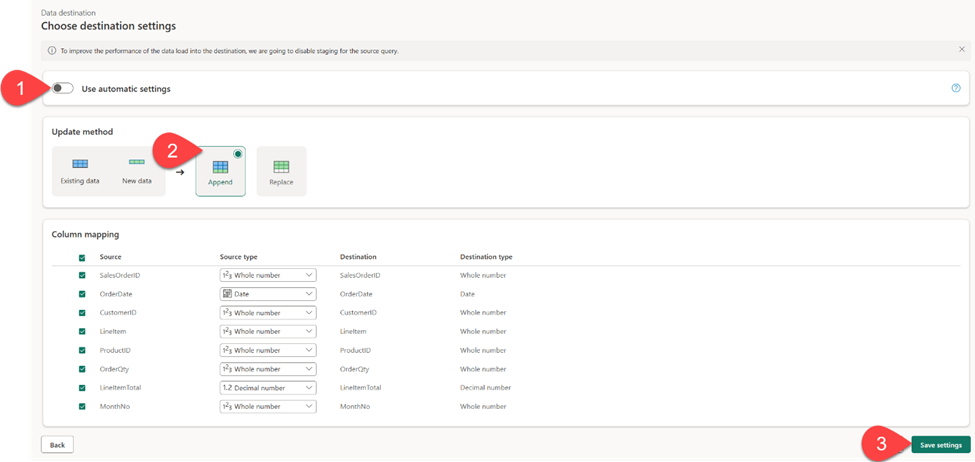
- Select Next and on the Choose destination settings page, disable the Use automatic settings option, select Append and then Save settings.
- On the Menu bar, open View and select Diagram view. Notice the Lakehouse destination is indicated as an icon in the query in the Power Query editor.
- Select Save & run in the top left corner to save and run the dataflow.

Then wait for the DF Fabric Bootcamp dataflow to be created in your workspace.
- Navigate to the LH_Fabric_Bootcamp lakehouse explorer and notice the newly created orders table in the Tables folder.
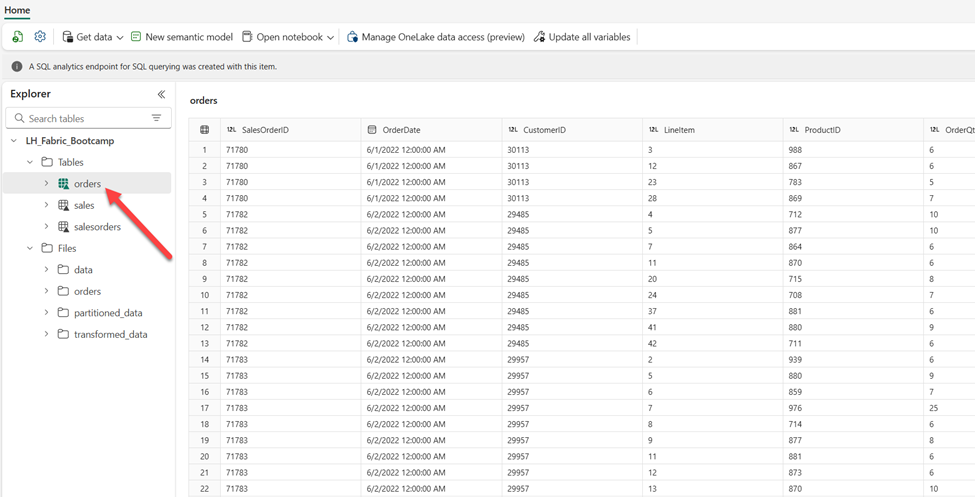
Great work! You’ve just created your first Dataflow in Microsoft Fabric and ingested the data from the external CSV file into the Fabric lakehouse. Don’t stop here – in the next lab, you’ll learn how to ingest the data using Fabric pipelines.