Deployment pipelines in Microsoft Fabric let you automate the process of copying changes made to the content in Fabric items between environments like development, test, and production. You can use deployment pipelines to develop and test content before it reaches end users. In this lab, you create a deployment pipeline, and assign stages to the pipeline. Then you create some content in a development workspace and use deployment pipelines to deploy it between the Development, Test, and Production pipeline stages.
Note: To complete this exercise, you need to be an member of the Fabric workspace admin role. To assign roles see Roles in workspaces in Microsoft Fabric.
Create workspaces
First, we will create three separate workspaces.
- Navigate to the Microsoft Fabric home page at
https://app.fabric.microsoft.com/home?experience=fabricin a browser and sign in with your Fabric credentials. - In the menu bar on the left, select Workspaces (the icon resembles a 🗇).
- Create a new workspace named Development, selecting a licensing mode that includes Fabric capacity (Trial, Premium, or Fabric).
- Repeat steps 1 & 2, creating two more workspaces named Test and Production. Your workspaces are: Development, Test, and Production.
- Select the Workspaces icon on the menu bar on the left and confirm that there are three workspaces named: Development, Test, and Production
Create a deployment pipeline
Next, we will create a deployment pipeline.
- In the menu bar on the left, select Workspaces.
- Select Deployment Pipelines, then New pipeline.
- In the Add a new deployment pipeline window, give the pipeline a unique name and select Next.
- In the new pipeline window, select Create and continue.
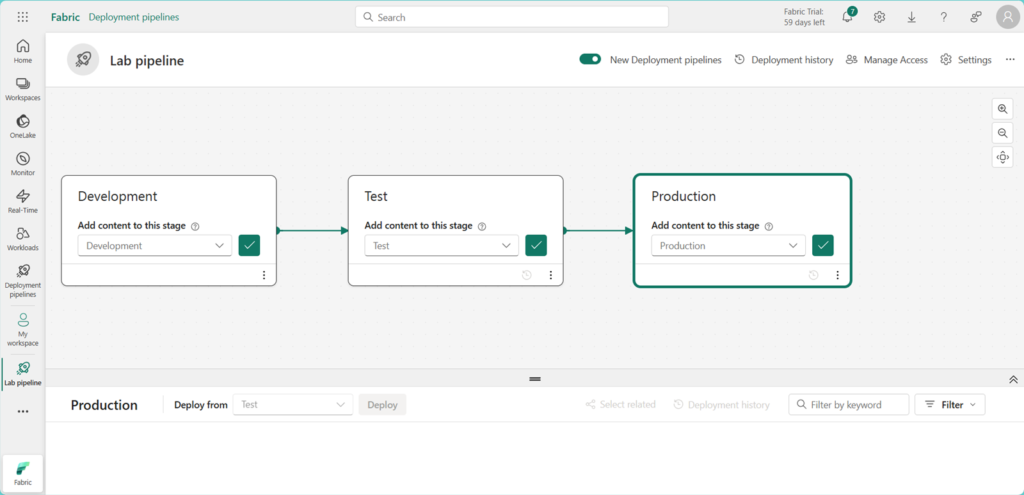
Assign workspaces to stages of a deployment pipeline
In this step, we will assign workspaces to the stages of the deployment pipeline.
- On the left menu bar, select the pipeline you created.
- In the window that appears, expand the options under Assign a workspace on each deployment stage and select the name of the workspace that matches the name of the stage.
- Select the check mark Assign for each deployment stage.
Create content
Fabric items haven’t been created in your workspaces yet. Hence, we will create a lakehouse in the development workspace.
- In the menu bar on the left, select Workspaces.
- Select the Development workspace.
- Select New Item.
- In the window that appears, select Lakehouse and in the New lakehouse window, name the lakehouse, LabLakehouse.
- Select Create.
- In the Lakehouse Explorer window, select Start with sample data to populate the new lakehouse with data.

- Select the sample NYCTaxi.
- In the menu bar on the left, select the pipeline you created.
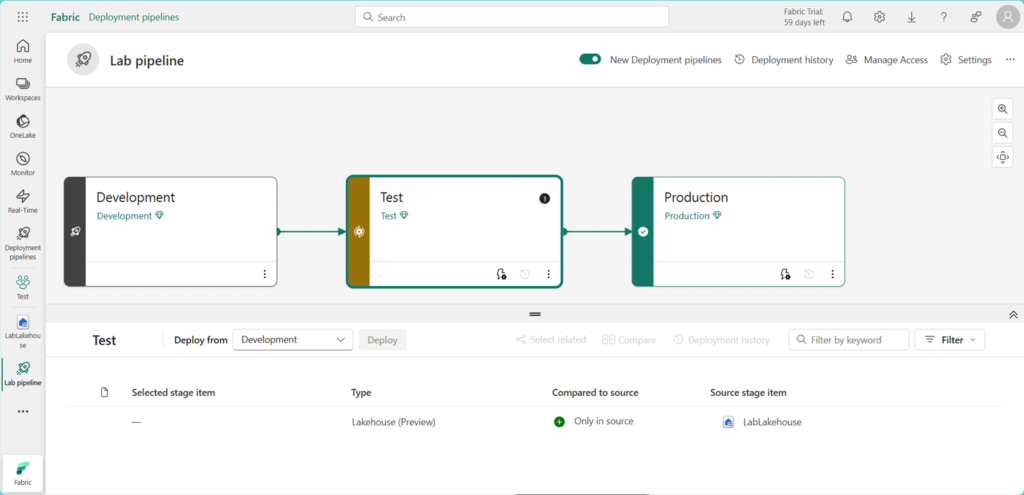
- Select the Development stage, and under the deployment pipeline canvas, you can see the lakehouse you created as a stage item. In the left edge of the Test stage, there’s an X within a circle. The X indicates that the Development and Test stages aren’t synchronized.
- Select the Test stage, and under the deployment pipeline canvas, you can see that the lakehouse you created is only a stage item in the source, which in this case refers to the Development stage.
Deploy content between stages
In this step, we will deploy the lakehouse from the Development stage to the Test and Production stages.
- Select the Test stage in the deployment pipeline canvas.
- Under the deployment pipeline canvas, select the checkbox next to the Lakehouse item. Then select the Deploy button to copy the lakehouse in its current state to the Test stage.
- In the Deploy to next stage window that appears, select Deploy. There is now an X in a circle in the Production stage in the deployment pipeline canvas. The lakehouse exists in the Development and Test stages but not yet in the Production stage.
- Select the Production stage in the deployment canvas.
- Under the deployment pipeline canvas, select the checkbox next to the Lakehouse item. Then select the Deploy button to copy the lakehouse in its current state to the Production stage.
- In the Deploy to next stage window that appears, select Deploy. The green check marks between the stages indicates that all stages in sync and contain the same content.
- Using deployment pipelines to deploy between stages also updates the content in the workspaces corresponding to the deployment stage. Let’s confirm.
- In the menu bar on the left, select Workspaces.
- Select the Test workspace. The lakehouse was copied there.
- Open the Production workspace from the Workspaces icon on the left menu. The lakehouse was copied to the Production workspace too.
And, that’s a wrap! You completed all the labs, and you should now be ready to apply your skills in real-life scenarios with Microsoft Fabric! Congratulations!